Decorative Ceilings – Not Just for the Sistine Chapel
Interior professionals and savvy homeowners know a room’s ceiling deserves attention. Commonly referred to as “the fifth wall” – and equal in size to the floor – the ceiling can become a dramatic or wonderfully supportive capstone. When approached with thoughtful consideration, a decorative ceiling sets a tone that may not be immediately recognized, but will be felt.
Humans have sought ways to enliven their living quarters for thousands of years, as cave paintings in both southwestern and southeastern France attest. In fact, paintings in the Chauvet-Pont d’Arc cave are carbon dated at more than 30,000 years old. Cave images, on the walls and ceilings, depict animals and plant life – what people saw around them.
The ancient Egyptians, well known for paintings found in the tombs of pharaohs and the wealthy, mixed ground glass, semiprecious stones, lead, dirt, and animal blood with fats or oil to create their paints. In later places and times, people used water and oils to mix paints with any pigment at hand, with varying success.
It wasn’t until 1718, in England, when Marshall Smith invented his “Machine or Engine for the Grinding of Colours” that paintmaking became a mass industry. More than 100 years later, linseed oil became the industry standard base, because it added durability to paint. In addition to its decorative qualities, paint could be relied upon to protect the surface it covered, acting as a moisture barrier, protecting a wall from dry rot or mold. Walls could also be cleaned and not immediately require another coat of paint.
Historically, decorative ceilings were included in a home’s interior scheme. The Romans incorporated reliefs, adding texture and depth, and would highlight the designs with accent painting. In the Renaissance, artists changed the shapes and heights of ceilings, and also painted images on the ceiling, creating large, framed artworks to be gazed upon (presumably, while reclining on a comfortable sofa).
Decorative ceilings were used to make homes seem more luxurious and expensive than they were, with faux techniques indicating the ceiling was something other than inexpensive wood – marble, copper, unusual (and expensive) burled wood, etc. Sometimes, ceilings were painted with clouds and angels, a wish of life to come.
In the United States, in the early 20th century, ceilings often had beams, which were set off with paint color, stencils, even burlap or paper covering. But after the Depression, more families opted for white paint for the ceiling. White paint was less expensive than tinted, and, if the family chose to change the colors of the vertical walls, the ceiling could be left alone, another cost-savings.
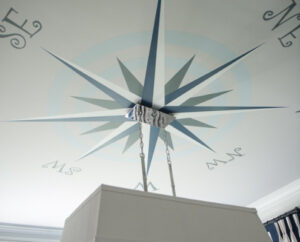
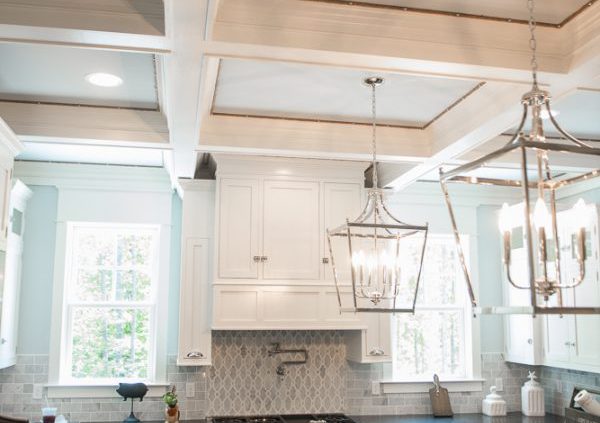
At H.J. Holtz & Son, decorative ceilings are among the most dramatic projects team members execute. Techniques range the gamut: wallpapers to high-gloss finishes, free-hand painting to elaborate stencils placed to highlight a central fixture or interesting shape. A decorative ceiling can visually enlarge a small room or bring intimacy to a large room. Best of all, citizens today aren’t likely to be brought up on charges of sacrilege, as a Charlestown colony preacher allegedly was in 1630 – for painting the interior of his house.
In the universe of home renovations, painting and wallpapering changes aren’t the most invasive. But every improvement involves some dislocation – either in the loss of use of a space or living with additional people underfoot – that a family has to accommodate.
Unless the family is somewhere else while the work is underway. H.J. Holtz & Son is pleased to offer customers the option of executing projects while a home is vacant, which offers benefits on both sides.
Save Money
“Customers don’t really want to live through the disruption; it’s stressful,” says company president Rick Holtz. “The benefit to us is that we can stage the job one time and not take it apart every day. That can save the customer money.”
Holtz says the best jobs to undertake in an empty house are interior, especially kitchens. “We can waste up to an hour and a half every day in readying the area and cleaning up at the end of the day,” he notes.
Prior Planning is Key
Prior planning is essential when the homeowners are going to be at another location, Holtz adds. “The more defined the vision and the scope of work, the more successful the project turns out,” he says. “We need to have clear decisions and details, because we don’t want to interrupt the homeowner’s away time unless absolutely necessary.”
Summer for Your Primary Residence – Fall or Winter for a Second Home
Holtz says the most common empty-house projects occur during the summer, when the family is on vacation. But fall can be a great time to schedule projects for a second house, because it’s the off-season, so no one is displaced. And the family is clear on what needs to be done.
“Spring is a busy time for us and for our clients,” he notes. “With fall projects, what you want is fresh in your mind, and you can get it done. It’s still going to be nice and fresh when you come back. “When you wait, the project becomes more of a stress, and it has a whole different feel,” he adds. “You want it to be over before it’s even started.”
Trust is Key
Customers can be confident that their homes and belongings will be safe when Holtz & Son employees are at work, Holtz says. “We are fully licensed, insured and bonded. Employees undergo a background check and drug testing, and many have been with the company for years. “We don’t put people in people’s homes that we don’t trust,” Holtz says. “That’s not good for business.” Or the customer.
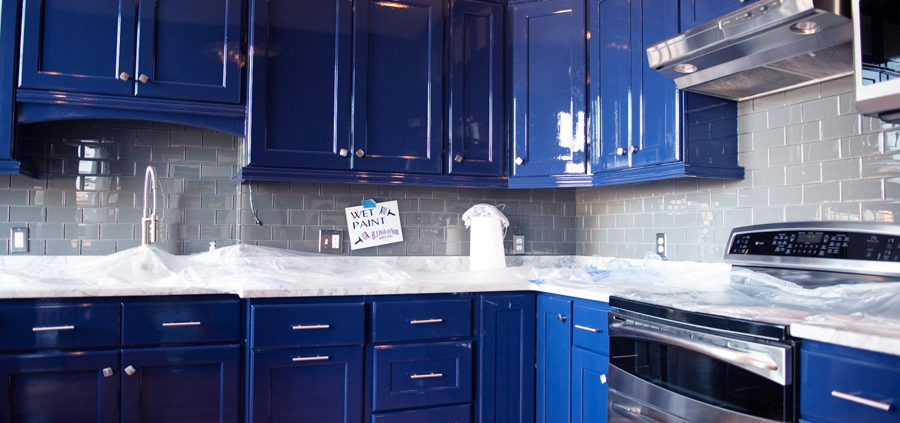
Homeowners looking for impact will be delighted with the high-gloss finishes offered by Fine Paints of Europe, which are used exclusively by H.J. Holtz & Son for gloss jobs.
“There’s nothing better,” says company president Rick Holtz. “People just can’t believe what these paints can do.”
Fine Paints of Europe (FPE), headquartered in Vermont, is the sole U.S. importer of paints and finishes made in the Netherlands by Wijzonol Bouwverven B.V. In Europe, the parent company’s focus is on pigments, which are sold worldwide.
Why We Use Fine Paints of Europe
What sets the company’s paints apart is their base paste, says FPE’s Emmett Fiore, color strategist and paint consultant. Every FPE paint has a foundation that is 100% titanium dioxide. Other manufacturers use chalk and fillers to build content in their paints, which destabilizes the mixture, leading to poor outcomes. By contrast, FPE paints have intense, luminous color, and the high-gloss finishes last for years.
“You can pay three times in 15 years, or once in 15 years,” Fiore says. “You pay in the beginning, or you pay down the road.”
Where to Use Gloss Paint
Many homeowners seek out high-gloss paints for their front doors – looking to create a great first impression – but gloss paint can be used anywhere in the house. Fiore says handrails, kitchen countertops and cabinets, walls and even ceilings all good locations for high-gloss paint.
“High-gloss rooms are the new stained glass,” Fiore says. “The ‘accent ceiling’ has replaced the ‘accent wall’ in popularity. All phenoms like this are an actualization of our inner selves and aesthetic sensibilities. When it’s done correctly, it looks awesome.”
Preparation Pays Off
“I know a lot of homeowners who do their own painting,” he says. “Nothing looks worse than a high-gloss job done poorly. You have to deal with dust, divots in the surface…every imperfection will show.”
While Fiore consults with DIY homeowners, the company also trains contractors and maintains a list of those qualified on the FPE website. Fiore notes that H.J. Holtz & Son holds a Master Certified Painting Contractor designation, a mark of how much experience the company has with FPE products.
“Rick [Holtz] was ahead of the curve on discovering us,” Fiore says, adding that Holtz & Son began ordering paint directly from FPE more than a decade ago and now purchases through Palette Paint & Home in Richmond. “Holtz folks care, and they know their stuff. Plus, they are really nice people. That’s the bonus.”
In the end, Fiore says, the average person needs to rely on the contractor they’ve hired. Even if the job is as simple as a piece of furniture or a front door, that job is important.
“It’s the little things that make you happy in your house,” he says. “It’s leaving part of yourself in that project.”
Did you ever what to change the look of your red brick? Many people choose to paint their brick, but there is another option — Limewash. What is Limewash you may ask? It originated in Europe and been in existence for thousands of years. We used Romabio on our project, which is similar to a stain and is absorbed by the brick. Paint, on the other hand, adheres to the top of the brick. The result is a beautiful antique look.
We spoke with our customer, Jon Ritting about why he chose this technique, “we decided to lime wash our house for two reasons. First, a friend and brick mason suggested the technique because lime washed brick can still ‘breath’ as opposed to paint which can trap moisture between the paint/brick and interior walls. Furthermore, painted brick requires maintenance and upkeep after several years, whereas lime wash just looks better over time.
“The second reason was about the final aesthetic lime wash offers a house like ours,” Jon continued. “In our opinion, the lime wash on our house accentuates the architecture and style of the house and makes it stand out in the neighborhood.” Jon’s wife, Patti, echoed his sentiments, “the lime wash technique updated our home while keeping the aged look at the same time. It’s the perfect fit for the style of our home, the neighborhood we live in, and the Richmond metropolitan area.”
Applying the limewash is not easy task (the timelapse to the left makes it look easy!). It takes patience and time. We needed to take into consideration the sun – for that makes the product dry faster. The Ritting’s home had both original brick and newer brick. The limewash on the original brick dried slowly the but the mortar dried quickly. However the opposite occurred when it was applied to the newer brick. The newer brick did not absorb the limewash as well, so it simply beaded up and rolled off! The limewash dried very quickly on the newer mortar, though. We had to adjust the way we applied the product so the limewash matched throughout the exterior. We manipulated the thickness of the product by adding water, but had to carefully protect the surroundings because it can fly all over the place.
Purchasing a home can be a very exciting time. However, when you purchase an older home that requires a makeover, it can become daunting, especially when the project is of this size and scale. You need to be able to collaborate with a painter that can implement your vision and ideas. Customer Lizzie Cox chose us. Her new home needed a facelift and we were there to help!
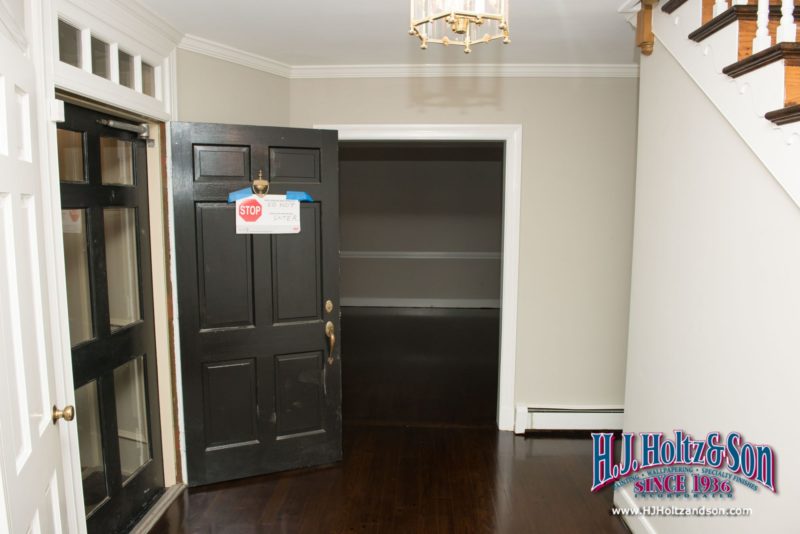
Before…
The entrance had neutral walls and trim with a black matte door.
The hallway stairs had wood stained risers and a wooden banister along with monochromatic colors above and below the chair rail.
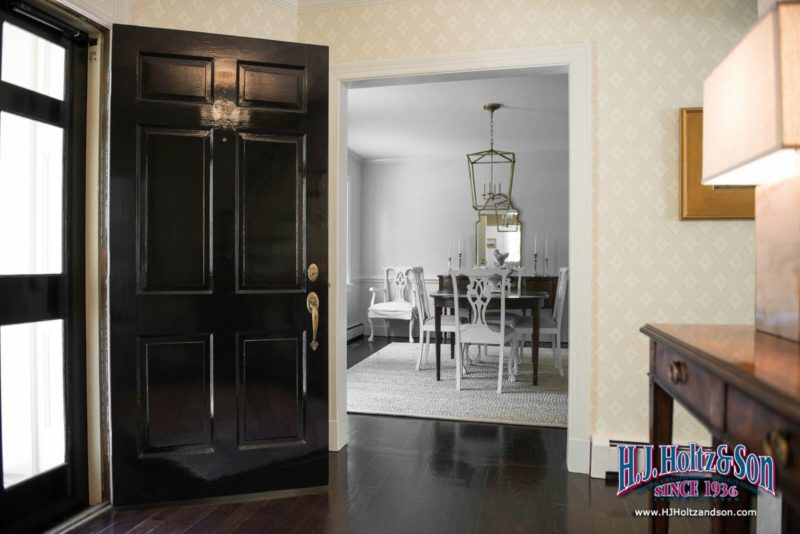
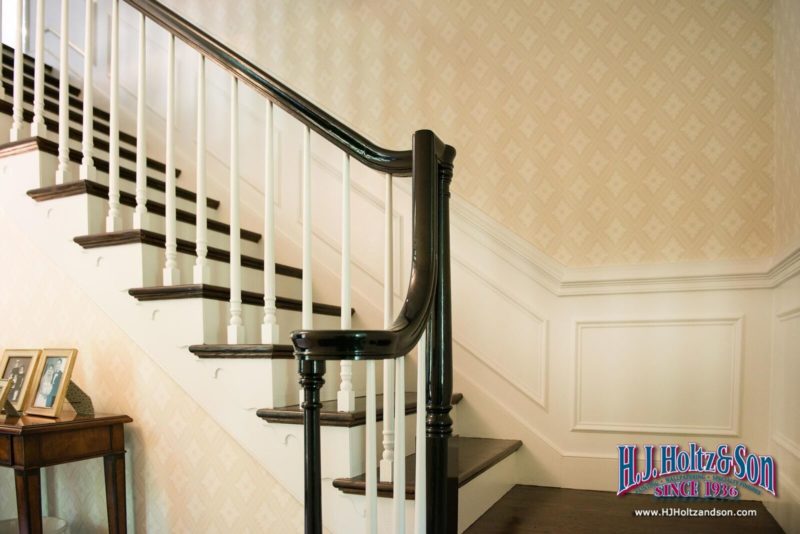
After!
We painted the risers on the steps white, which contrasts nicely with the newly painted black railing. The additional picture molding gives the illusion of wainscoting, which dressed up the foyer.
Before…
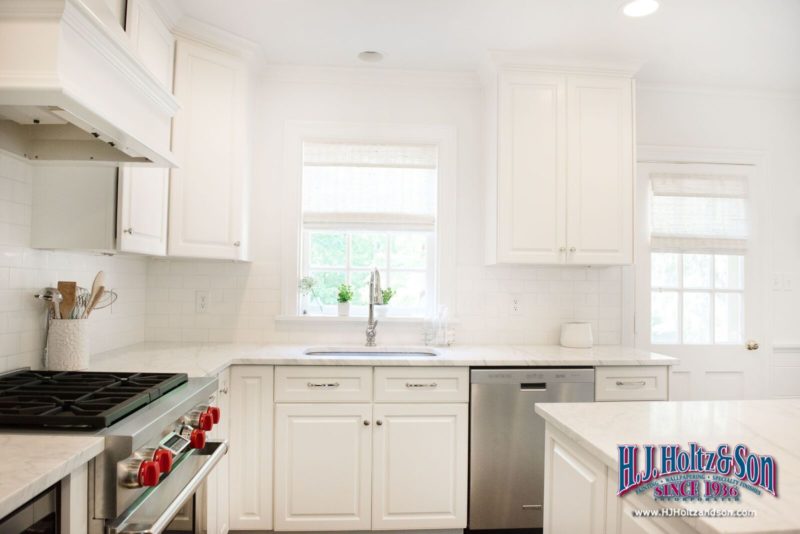
There was a lot of wood stain in the kitchen extending from the beams and carried throughout the trim, the walls and the floors. The cabinets were also wood stained and these elements combined created a closed-in feeling to the kitchen.
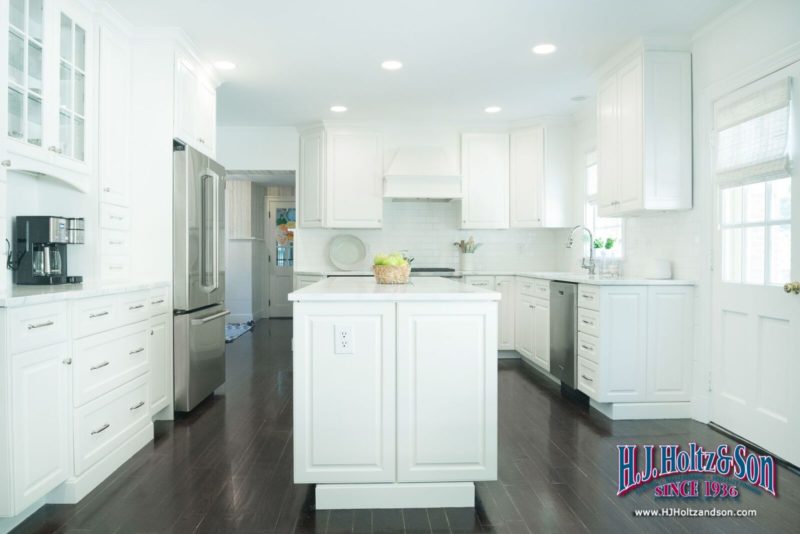
After!
We degreased, sanded and scraped, primed and painted the cabinets. Then we used our in-house spray booth to apply this beautiful Benjamin Moore White Dove. The light-colored cabinets, trim, ceiling beams and walls brightened and enlarged the kitchen!
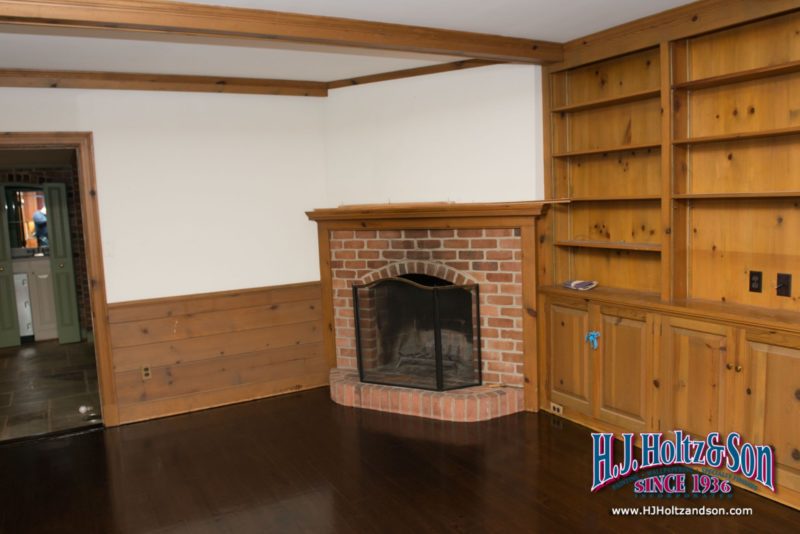
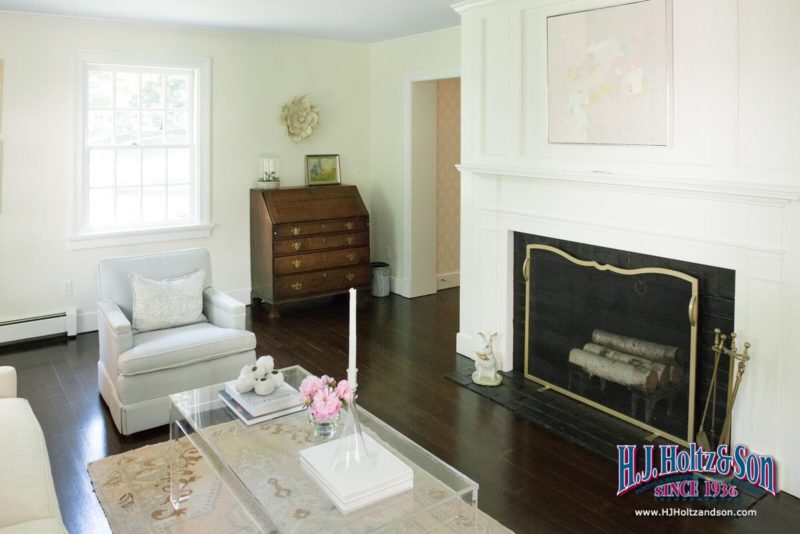
Before…
This area is an extension of the kitchen with a fireplace at the other end.
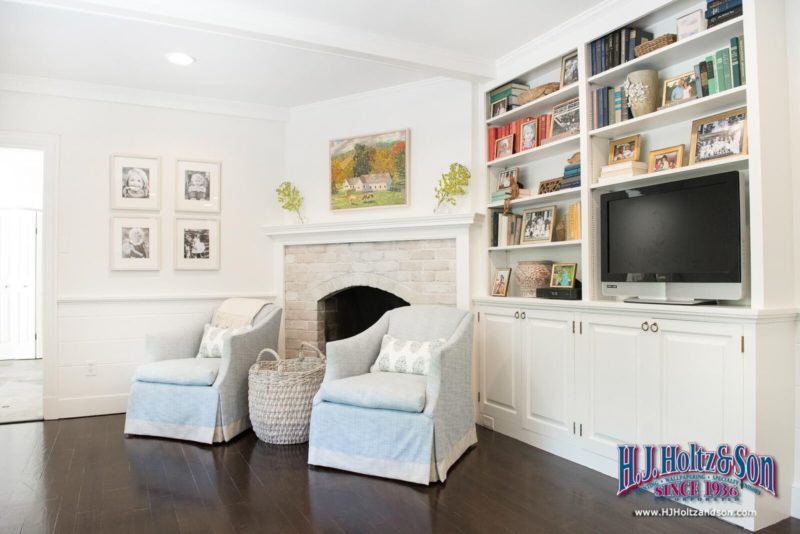
After!
All of the woodwork was painted white, including the bookcase, panels and ceiling beams. Our craftsman Brian Smith whitewashed the fireplace to create this beautiful, uniform look. The brighter walls also make the floor pop!
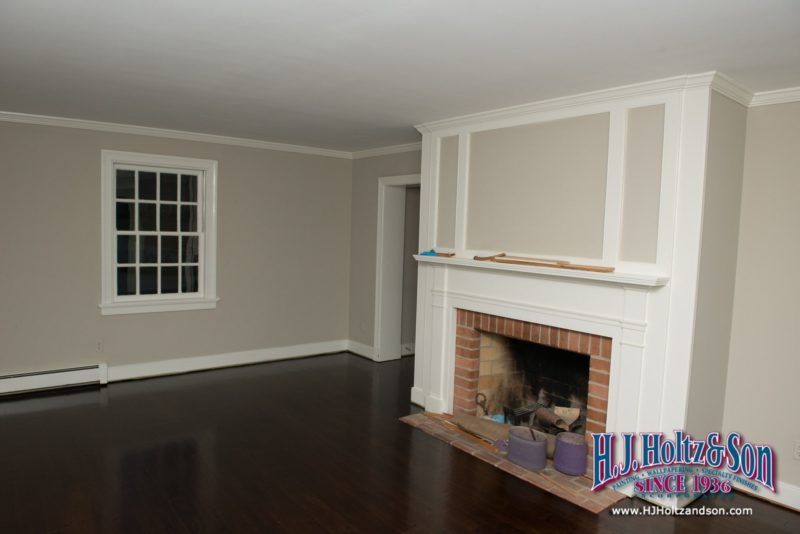
Before…
A second fireplace was also updated.
After!
The brick on this fireplace was painted black which contrasts beautifully with the wall color.
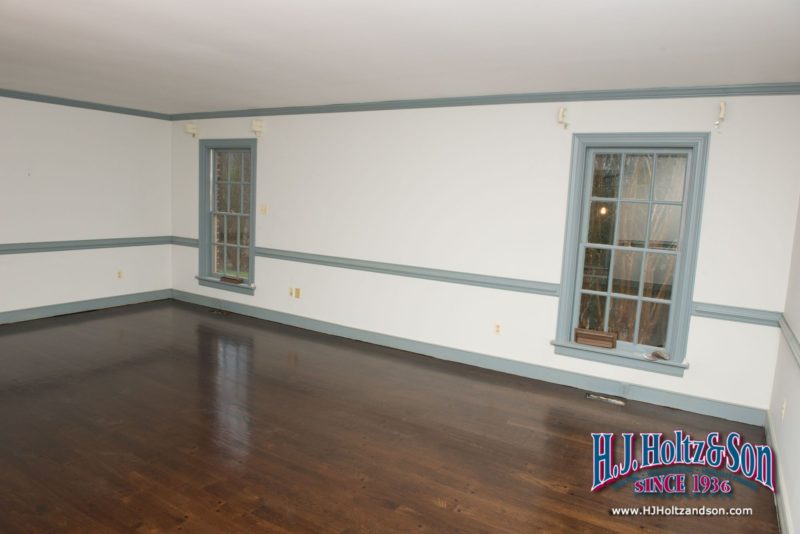
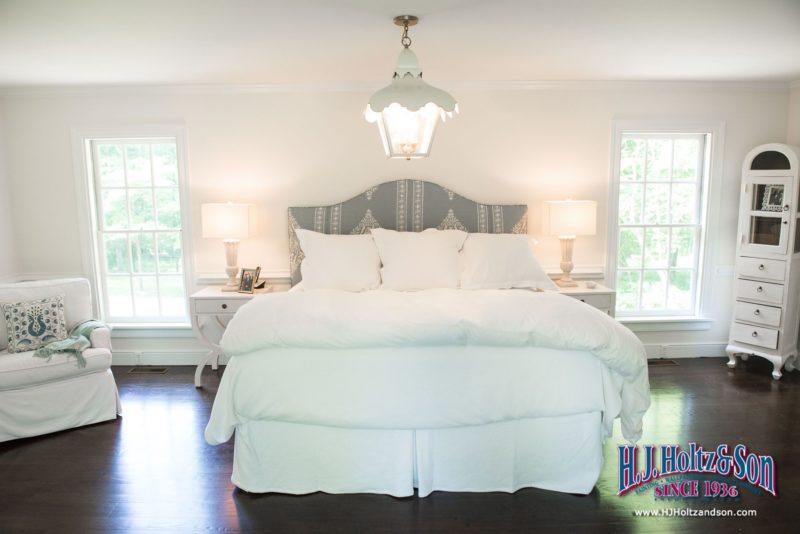
Before…
The master bedroom had colonial blue moldings with white walls.
After!
The white walls and white trim created a modern look in this beautiful bedroom.
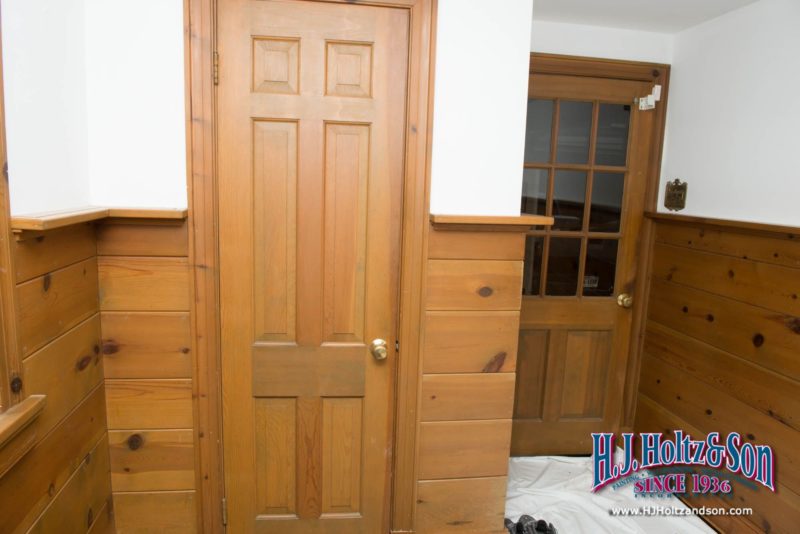
Before…
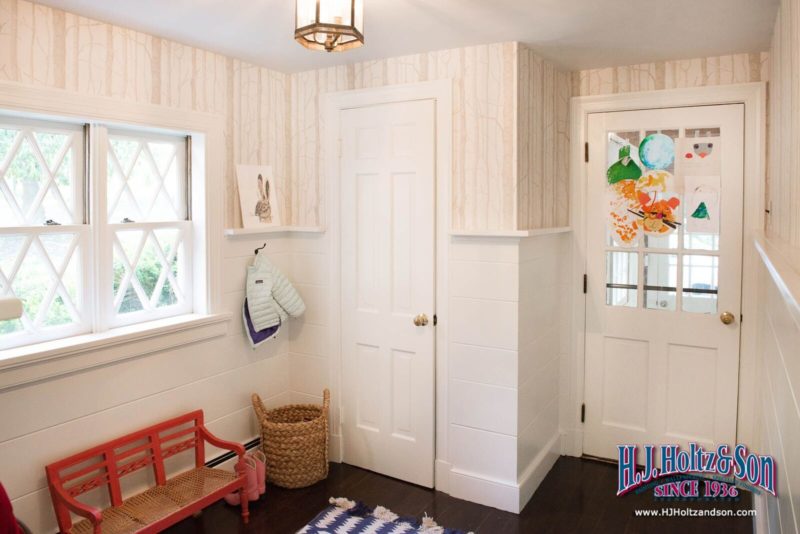
The heart-of-pine paneled mudroom.
After!
The mudroom looks fabulous! It is amazing that the knots don’t bleed through the paint. The birch tree woods wallpaper by Cole & Son adds dimension and brightness to the whole space.
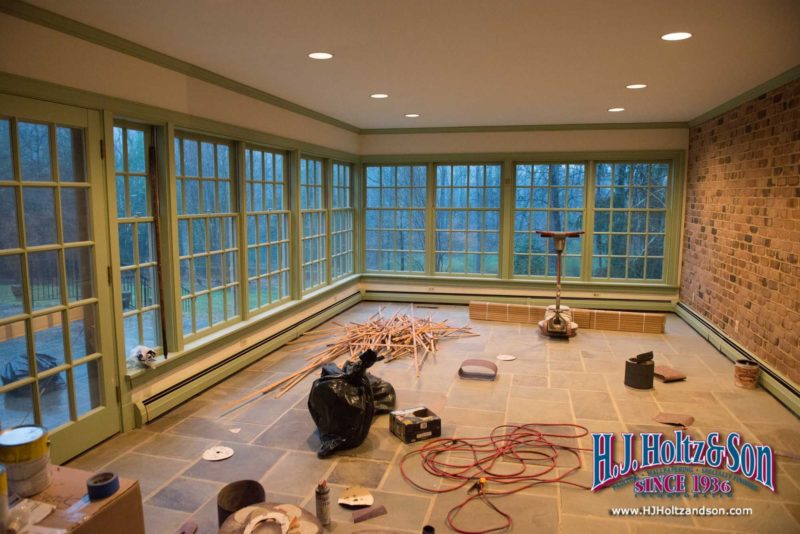
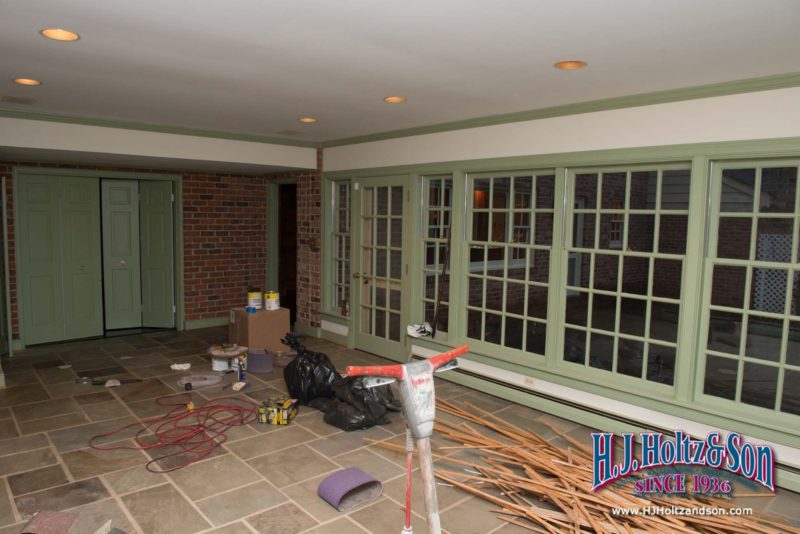
Before…
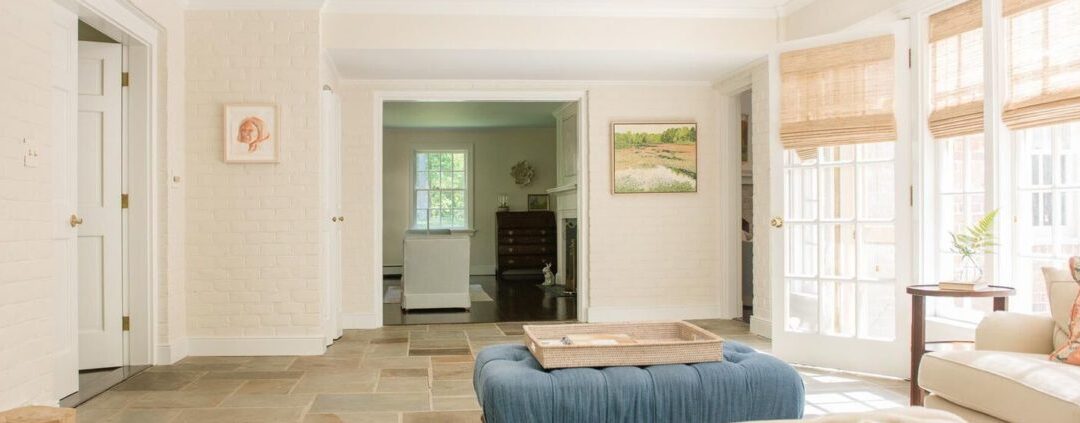
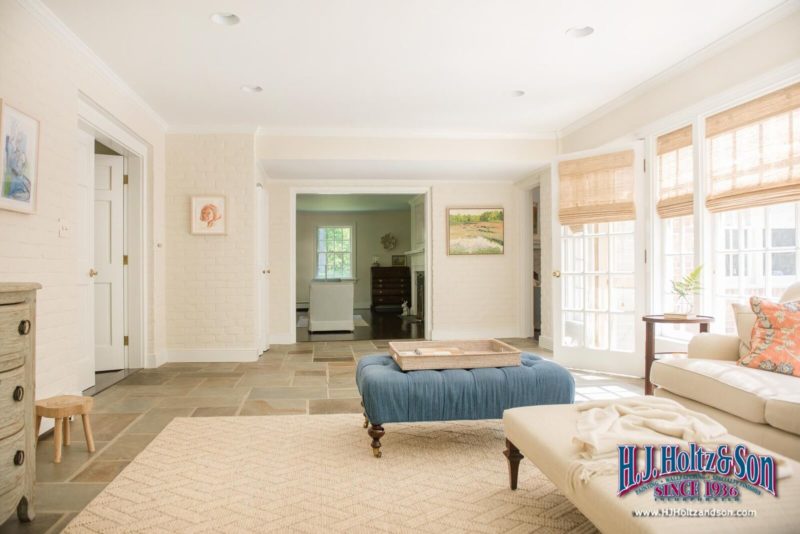
This huge sunroom with plenty of windows for viewing the yard had green trim and an exposed brick wall. It was finished with a flagstone floor.
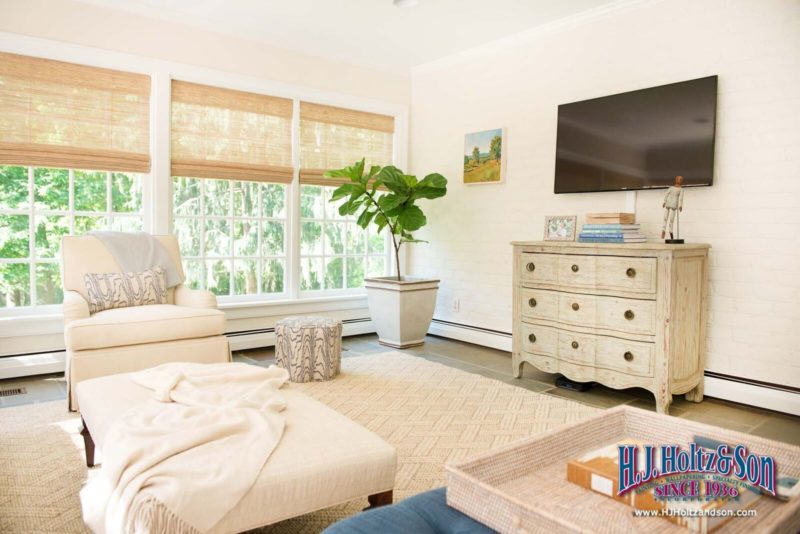
After!
This sunroom looks amazing with the painted brick and trim! The light color in combination with all of the windows creates such a bright, cheery room and brings the outdoors inside. The walls are Feather Down with White Dove trim.
Mrs. Cox had noticed the quality of our craftsmanship through working for designer Suellen Gregory. When I spoke with Mrs. Cox, I asked her why she chose H.J. Holtz and Son. “While working with Suellen I saw the caliber of your work and I love the way you treat clients. I couldn’t imagine working with anyone else.”
She noted that we “work magic” and that she knew exactly what she wanted it to look like. She knew the skill level of H.J. Holtz and Son could execute what she wanted. There was never any other painter considered and she has not looked back once.
Mrs. Cox also shared that her family loved having our craftsmen in her home. They would joke with the family while they ate breakfast in the mornings and were missed when the project was completed.
Mrs. Cox is very happy with our work and loves the transformation. It is stunning to see the before and after pictures. We are thrilled that our customer loves our work!
The Reader’s Favorites edition of R*Home magazine was published online a few weeks ago. We’re STILL very honored to have been named both the favorite painting company AND favorite wallpaper hanger. Thank you to our clients, partners, and friends for your support!